Showing posts with label simple gifts. Show all posts
Showing posts with label simple gifts. Show all posts
Tuesday, December 22, 2015
gift bags on creativebug
It's the count down to Christmas, and if you haven't started wrapping your gifts- it's time to start thinking about it! I have a great new class that was just released on Creativebug. I show you how to make two kinds of burlap bags- a boxed edge stand up tote and a frayed edge bag that features weaving. Both elevate the gifts your giving and are quick and satisfying. Bonus- they cost nothing (or close to that!). They also double any gift you give because they are re-usable. Whip up several at a time and put the wrapping paper away! You can check it out right here.*
*I'm an affiliate with Creativebug, so if you sign up by linking over from here, I receive a little "something". Thanks so much!


Posted by
mayaluna
2
comments
at
3:12 PM

 Labels:
creative bug,
recycle,
repurpose,
sewing,
simple gifts
Monday, November 23, 2015
pajama pants
Hi friends! I've missed you and my creative time the last few weeks. Life has a way of spinning into a busy flurry this time of year, but I'm back and gearing up for the winter ahead! Our dining room table has seen a lot of sewing and girls recently, as I hosted a Holiday Stitch series for my advanced sewers. One of our most exciting projects involved flannel. I make a pair of pajama pants for my daughter every winter, but this year I thought she and her friends were up to the task on their own. I drafted patterns with them from other bottoms, and then they got to work cutting, sewing and threading elastic through waist bands. Not too complicated for this crafty bunch, but still a challenge.

These two finished together… what a sweet reward to snuggle into them and start lounging. Soft and roomy- perfect for dancing and getting silly!
This kind of garment sewing is super forgiving, which makes it a great advanced beginner project and fun for gift-giving too! Pinterest has plenty of tutorials if you do a quick search.
Here's to the cozy season ahead!

Friday, August 8, 2014
mini tote/hat diy
I cut off the legs of a pair of yoga pants to make shorts. The cotton jersey with a touch of spandex was the perfect stretchy fabric for making some quick tiny totes for my sewing campers last week. I wanted them to see just how fast and easy some projects are. This was impressive... one quick seam and a tiny snip for a handle and little purse was born. They were delighted... and responded as if I had a magic wand. And then they impressed me... by putting them on their heads! They make fabulous hats! One direction is a great bat (or even cat) hat- the other is a bit elf-like! Keepin' this in mind for Halloween...
If you have an old pair of yoga pants lying around, you've got the making of a bunch of totes and/or hats! These are so great to stash a couple small items... lip balm and a change purse fit perfectly for my girl. An adult or teen could easily slip in a phone and keys, too. Make:
- Cut off the legs of a pair of stretchy pants.
- Cut them into sections of at least 8". You'll have a bunch of tubes.
- Turn one inside out and sew a seam along the bottom edge.
- Turn it right side out and fold over the opening to one side. Cut out a tiny half moon at the center of the fold line. That's the handle. Jersey doesn't fray so raw edges are fine!
- Make some more and give them to friends.
Have a great weekend!

Wednesday, April 9, 2014
stampin' cork- simple gifts
Do you know how beautifully cork takes to stamps and ink? Well, I didn't... what a nice surprise! They make great personal coasters and trivets. Whether you carve your own or purchase stamps- find ones that speak to you or the recipient.
I had two broken cork place mats from Ikea. The bigger the piece,the easier it is to break it with a simple fold or bend. Both kids discovered that during the course of one meal. Whoops! That's why smaller pieced projects, like coasters, are perfect and so much sturdier for cork. I used a ruler and rotary cutter and made as many 4" squares as I could from the best part of the place mats. Then stamped away! StāzOn ink pads are recommended so that they can handle spills and be wiped clean. Teacher appreciation week is coming up, a set of these might be perfect with some other goodies...

I had two broken cork place mats from Ikea. The bigger the piece,the easier it is to break it with a simple fold or bend. Both kids discovered that during the course of one meal. Whoops! That's why smaller pieced projects, like coasters, are perfect and so much sturdier for cork. I used a ruler and rotary cutter and made as many 4" squares as I could from the best part of the place mats. Then stamped away! StāzOn ink pads are recommended so that they can handle spills and be wiped clean. Teacher appreciation week is coming up, a set of these might be perfect with some other goodies...

Friday, February 28, 2014
ikea sham hack
I'm consistently drawn to neutrals. I love white, natural and gray. But as this bitterly cold and dreary February has dragged on, I've needed some color. I stopped at Ikea on the way home from NYC last week. Roaming the aisles on my own was a first... I'd never been by myself! The combination of that leisurely pace and my penchant for bright popping colors led me directly to a pile of zippered rainbow shams. The pure happiness of those stripes made me pop one into my big blue Ikea bag- just because. It was a daring move... even if I have been craving colors. I suddenly understood one of my best friends love for rainbow colored fabric and yarn. And then realized it was for her. But not as a pillow. It would be a tote to carry her yarn or millions of books.

It already had a zipper at the top to take advantage of. I added two red straps. Then I boxed the corners with 4 inch seams. It was super fast and equally satisfying. Must have been those stripes of happy.
Set against our endless winter backdrop, it's a lovely bag of cheer! So, if you're seeking a fun and simple sew, look no further than a zippered sham to turn into an easy tote. Add rainbow stripes to get you through to spring... we're almost there!

Monday, January 6, 2014
happy stuff
Today my children returned to school. I had the house to myself for the first time in a long while... and I savored three of my favorite holiday gifts all morning long.
1. A delicious cup of coffee with beans hand picked by my sister on her farm in Kona (Hawaii). YUM!
2. My new West Elm ironing board cover... only someone who sews as much as I do could love an ironing accessory so passionately! Thanks Mom!
3. Blasting music on my new wireless speaker from someone who knows just how much I love to pump up the volume and dance like no ones watching. Today it was Salsa non-stop. Yes, Tito is on repeat... Shhhh- let's keep this between us, shall we?
It was my own private celebration for my sweet friend, Michelle, who became a mama over the weekend. I know she would have approved of the dance party I threw in her little one's honor. Stitching up something soft for this babe was called for. Michelle and I had a sewing breakthrough at Squam in 2011 when she made this gorgeous scarf (against all odds)... and I knew I'd be sewing for her girl.
I had set aside the last of my Forest Friends from Cloud 9 bunny flannel and some thick organic cream flannel that had been used for blankets for both of my babies. Today I finally had the time to make one of these and also printed a little luna moth onesie. Off in the mail it goes! Congratulations Mama Michelle!

1. A delicious cup of coffee with beans hand picked by my sister on her farm in Kona (Hawaii). YUM!
2. My new West Elm ironing board cover... only someone who sews as much as I do could love an ironing accessory so passionately! Thanks Mom!
3. Blasting music on my new wireless speaker from someone who knows just how much I love to pump up the volume and dance like no ones watching. Today it was Salsa non-stop. Yes, Tito is on repeat... Shhhh- let's keep this between us, shall we?
Total. Bliss.
It was my own private celebration for my sweet friend, Michelle, who became a mama over the weekend. I know she would have approved of the dance party I threw in her little one's honor. Stitching up something soft for this babe was called for. Michelle and I had a sewing breakthrough at Squam in 2011 when she made this gorgeous scarf (against all odds)... and I knew I'd be sewing for her girl.
I had set aside the last of my Forest Friends from Cloud 9 bunny flannel and some thick organic cream flannel that had been used for blankets for both of my babies. Today I finally had the time to make one of these and also printed a little luna moth onesie. Off in the mail it goes! Congratulations Mama Michelle!
Just as I finished typing this post I got a message from school... tomorrow is cancelled due to dangerous low temperatures. My solitude was short lived. No matter... now I'll have some dance partners!
p.s. You must admit- this stripy cover is perfect!

Thursday, November 21, 2013
trapunto snowflake pillows
Snowflakes are flying these days and that always gets me excited for winter crafting. My holidays officially got underway with a sweet project for SewMama Sew. They offered me organic fabric in undyed neutrals in exchange for coming up with a way to highlight these gorgeous basics available at Organic Cotton Plus. Are you kidding me? What a perfect opportunity. Organic Cotton Plus has some delicious canvases and muslin that were calling out for fabric manipulation... or printing as I'm thinking of doing next.
These pillows were inspired by simple scandinavian designs and utilized a "new to me" technique called trapunto. It's the Italian word for "embroidery" and essentially is a quilting method of stuffing a motif. The three dimensionality is striking and subtle simultaneously. If you'd like the instructions, just hop over to Sew Mama Sew for my tutorial.

These pillows were inspired by simple scandinavian designs and utilized a "new to me" technique called trapunto. It's the Italian word for "embroidery" and essentially is a quilting method of stuffing a motif. The three dimensionality is striking and subtle simultaneously. If you'd like the instructions, just hop over to Sew Mama Sew for my tutorial.
Now let it snow!

Tuesday, December 18, 2012
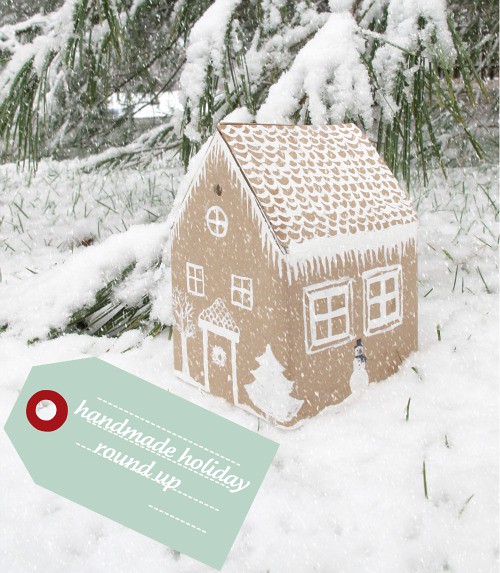
green handmade holiday round-up
Incorporating handmade into your home and gifts always adds more meaning to the holidays, and the benefits are vast. It ensures that there's less rushing about. And if you create with friends and family, traditions are formed and memories made. There's still time...
So let's revisit some projects and roundups from past winters to serve as visual reminders for you (and me!). A good idea is a wonderful thing to recycle. Below are some of my favorites from the last two years... all are simple and don't take much time!
And here are a plethora of good ones from deeper in the archives!
Above are some well-loved decoration ideas. Links are from left to right.
Row 1: burlap forest, snow covered pine cones, cranberry wreath
Row 2: rag wreath, newspaper snowflake garland, batting scrap wreath ornament
The following are links for simple gifts that whip up quickly. Once again from left to right.
Row 1: elf slippers, card holders, milk carton cookie houses
Row 2: napkin rings and other security paper ideas, gift bag/boxes, leather leaf cuff
Row 3: wrapping ideas, child's travel pillow, paper whites
Row 4: love letter pillow, travel felt board, envelope purses
Row 5: quick personalized stationery, memory game, last minute treat bags

 |
| diy yule log candle tray here |
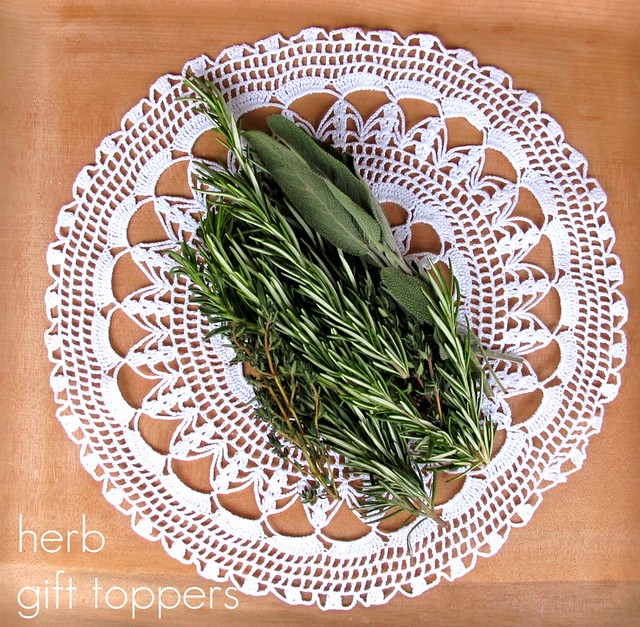 |
| herb gift toppers found here |
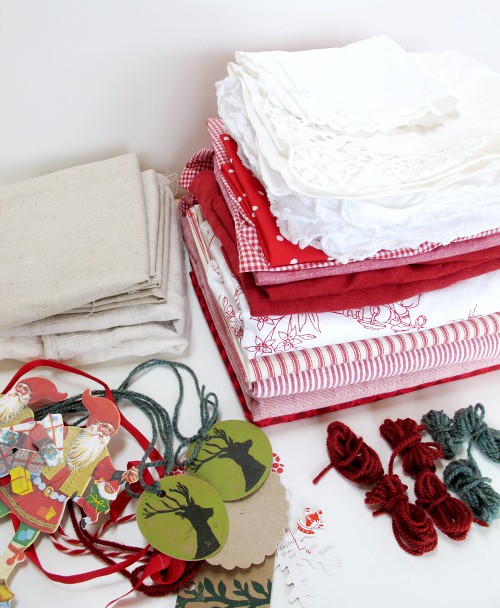 |
| wrapping suggestions here |
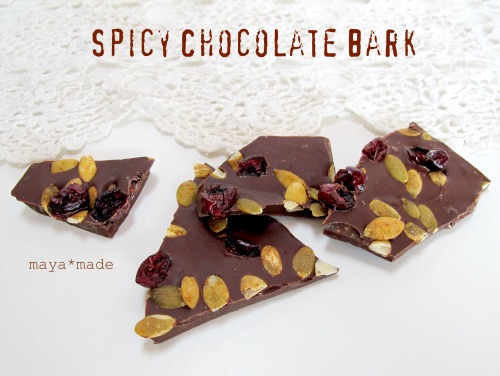 |
| recipe found here |
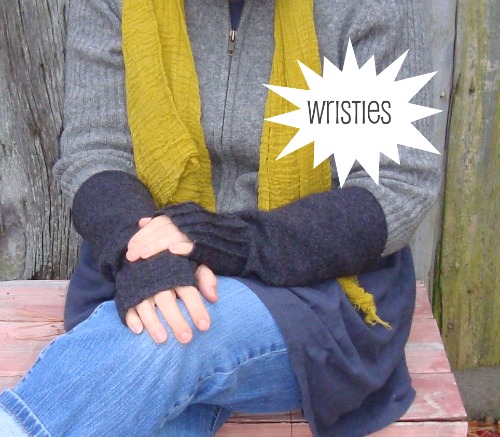 | ||
| tutorial found here |
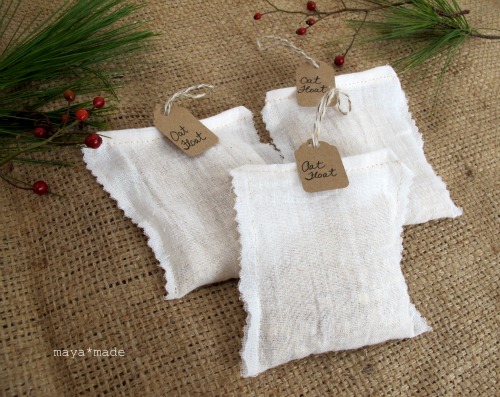 |
| oat floats: how to found here |
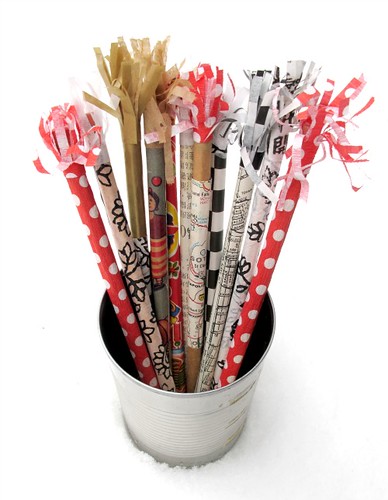 |
| diy frilled pencils (great stocking stuffers!) |
Above are some well-loved decoration ideas. Links are from left to right.
Row 1: burlap forest, snow covered pine cones, cranberry wreath
Row 2: rag wreath, newspaper snowflake garland, batting scrap wreath ornament
The following are links for simple gifts that whip up quickly. Once again from left to right.
Row 1: elf slippers, card holders, milk carton cookie houses
Row 2: napkin rings and other security paper ideas, gift bag/boxes, leather leaf cuff
Row 3: wrapping ideas, child's travel pillow, paper whites
Row 4: love letter pillow, travel felt board, envelope purses
Row 5: quick personalized stationery, memory game, last minute treat bags
Happy Making!

Wednesday, December 5, 2012
by the chimney with care...
Yup- it's me again. wink. wink. More videos for you! Your reception to my trailer was so monumental for my spirit! Blowing you all a kiss right now! For every comment so far, I've responded here.
It was fascinating to read what it was like for you to hear my voice. I've felt all along that we were having a conversation... but perhaps we just crossed the threshold to an even deeper connection. This is always my wish in every relationship I forge. So, of course, I want that for us as well. Here's to CONNECTING wherever we may be.
So, let's talk stockings! I've made several of these coffee sack beauties every year for my etsy shop. They sell quickly, and I never have time to make more. Therefore, it seemed like the perfect project to teach you how to make with Creativebug this December. It's a great way to learn how to work with burlap and performs one of my favorite magic tricks... transforming an old sack into something "earthy and sophisticated". The template is provided and was based on the same stockings my mother made when I was girl. My daughter now has mine! I like a stocking that can hold a decent amount and doesn't hijack your hand every time you reach in. This one holds a pound of coffee perfectly.Why not use it as a gift bag for your favorite coffee lover? Add a bag of beans and a sturdy mug (or mason jar and cuppow!)... and you're sure to make someone very happy! You can visit the intro to the Burlap Christmas Stocking workshop right here.

It was fascinating to read what it was like for you to hear my voice. I've felt all along that we were having a conversation... but perhaps we just crossed the threshold to an even deeper connection. This is always my wish in every relationship I forge. So, of course, I want that for us as well. Here's to CONNECTING wherever we may be.
***
So, let's talk stockings! I've made several of these coffee sack beauties every year for my etsy shop. They sell quickly, and I never have time to make more. Therefore, it seemed like the perfect project to teach you how to make with Creativebug this December. It's a great way to learn how to work with burlap and performs one of my favorite magic tricks... transforming an old sack into something "earthy and sophisticated". The template is provided and was based on the same stockings my mother made when I was girl. My daughter now has mine! I like a stocking that can hold a decent amount and doesn't hijack your hand every time you reach in. This one holds a pound of coffee perfectly.Why not use it as a gift bag for your favorite coffee lover? Add a bag of beans and a sturdy mug (or mason jar and cuppow!)... and you're sure to make someone very happy! You can visit the intro to the Burlap Christmas Stocking workshop right here.

Posted by
mayaluna
1 comments
at
12:35 PM

 Labels:
creative bug,
DIY,
repurpose,
sewing,
simple gifts,
workshops
Monday, December 3, 2012
winter map and child*made gifts
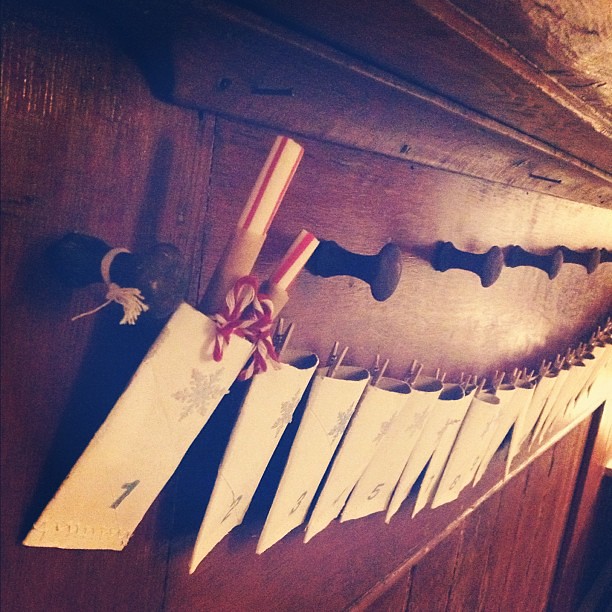
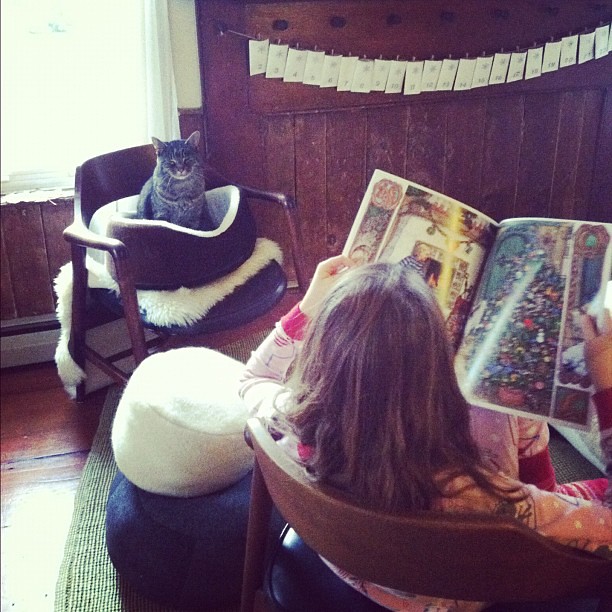
I'm so grateful that December has swept in with the beautiful traditions my children and I adore. This means that we have some serious guideposts for the month ahead. I love having a map with clear directions, don't you? It began on the first day- we aren't allowed to raid the attic for holiday treasure (decoration) boxes until then. I think I enjoy the moment we lift off the lids of stored memories almost as much as Christmas. Was it bittersweet this time- of course, but let's not dwell there. The kids were able to choose which count-down calendar we'd use, and the first evening was filled and celebrated with simplicity and ease. Peppermint cocoa stirrers got things off to just the right start.
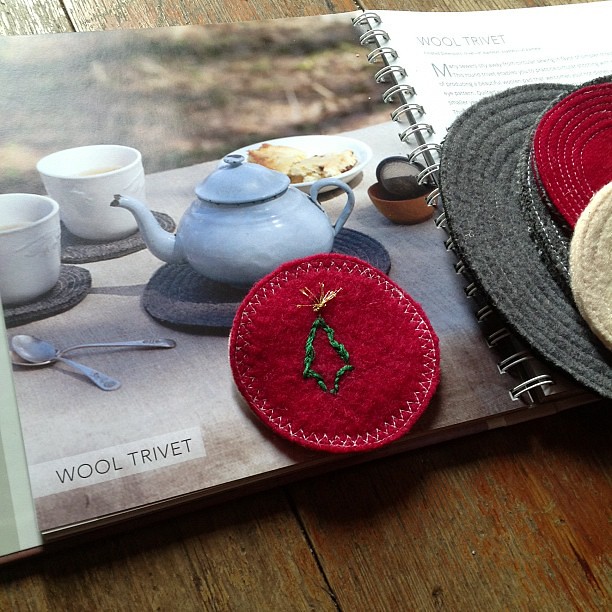
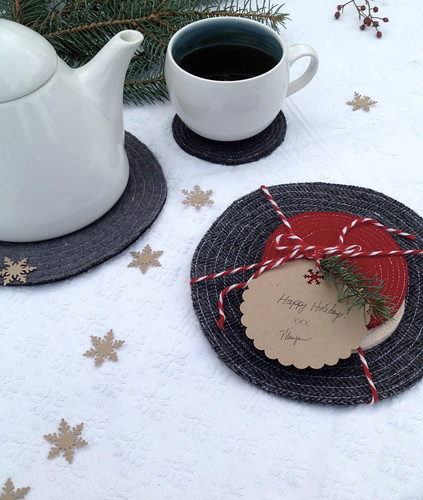
The second day of December was welcomed in with a basket of winter books and some baking. In the afternoon my daughter and I began sewing our teacher (and grandma) gifts at our craft table Ithacamade. The wool trivets and coasters from Reinvention are the greatest canvas for child embroidery. Truly! If you're looking for handmade projects for your children to make in multiples, this might be the answer. Small embroidery on their part... quick machine finishing on yours (or theirs if they are more experienced). A hand made mug and some tea or a coffee and your set. For the coasters we used only two layers of wool and she embroidered the top layer so that the knots and backside were hidden in the center. Gold embroidery thread makes a great sparkly star. This was a happy accident when the knotted end went on top. Instead of pulling it out, my daughter trimmed and fluffed the ends and voila!

Tuesday, November 27, 2012
winter workshop at ithacamade!
WINTER WORKSHOP
where: ithacamade, state st. next door to Mimi's Attic
when: Sunday, December 2
time: 1-3pm
If you're in the neighborhood (downtown Ithaca, NY) on Sunday afternoon, I do hope you'll come by for some holiday crafting! I'd love to see you and children are always very welcome!
Jan will have a stack of my books on hand and is generously offering $5 off the regular price just for this gathering. And of course, I'll be excited to sign any copies that are put in my hands!
See you Sunday!

Posted by
mayaluna
0
comments
at
12:12 PM

 Labels:
crafts,
eco,
Reinvention,
repurpose,
sewing,
simple gifts,
workshops
Friday, June 1, 2012
a leather leaf ring
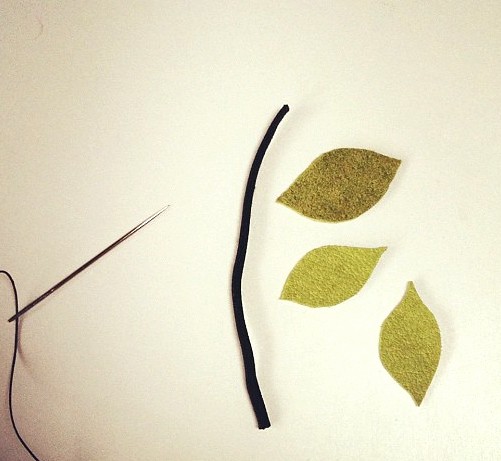
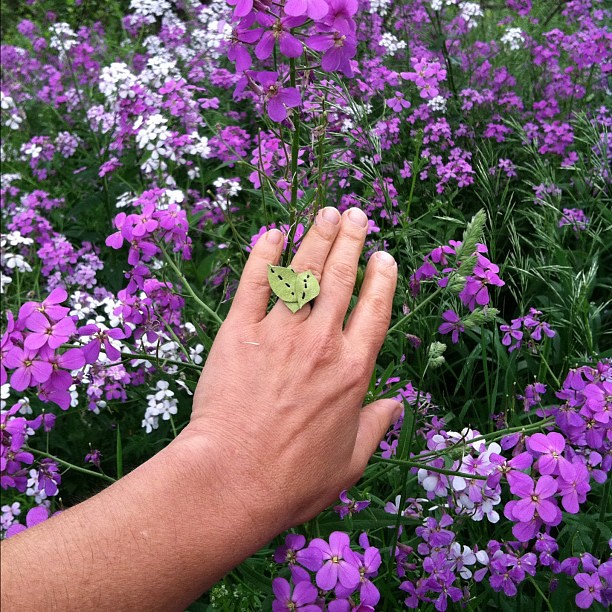
With my favorite green leather (from an old skirt), a few inches of elastic, and some button thread I stitched together a little ring. The indentation left from my wedding band draws my eye too frequently. I thought something playful, but meaningful was in order. At least for this moment. 3 leaves growing. Imperfect and sweet. Intertwined... connected by an elastic... flexible ring. Just right for TODAY. Happy June, my friends!

Saturday, December 10, 2011
(green) handmade holiday round-up
I'm bringing out some visual cues to remind you (and me!) of projects and traditions from winter's past. A good idea is a wonderful thing to recycle. Below are some of my favorites from last year:
And here are a plethora of good ones from deeper in the archives!
Above your find some simple decor for setting the scene. Links are from left to right.
Row 1: burlap forest, snow covered pine cones, cranberry wreath
Row 2: rag wreath, newspaper snowflake garland, batting scrap wreath ornament
The following are links for simple gifts you still have plenty of time to make. Once again from left to right.
Row 1: elf slippers, card holders, milk carton cookie houses
Row 2: napkin rings and other security paper ideas, gift bag/boxes, leather leaf cuff
Row 3: wrapping ideas, child's travel pillow, paper whites
Row 4: love letter pillow, travel felt board, envelope purses
Row 5: quick personalized stationery, memory game, last minute treat bags

 |
| recipe found here |
 | ||
| tutorial found here |
 |
| how to found here |
 |
| diy frilled pencils |
Above your find some simple decor for setting the scene. Links are from left to right.
Row 1: burlap forest, snow covered pine cones, cranberry wreath
Row 2: rag wreath, newspaper snowflake garland, batting scrap wreath ornament
The following are links for simple gifts you still have plenty of time to make. Once again from left to right.
Row 1: elf slippers, card holders, milk carton cookie houses
Row 2: napkin rings and other security paper ideas, gift bag/boxes, leather leaf cuff
Row 3: wrapping ideas, child's travel pillow, paper whites
Row 4: love letter pillow, travel felt board, envelope purses
Row 5: quick personalized stationery, memory game, last minute treat bags
Happy making and joyful giving to you all!

Thursday, December 8, 2011
simple gifts: yule log tray
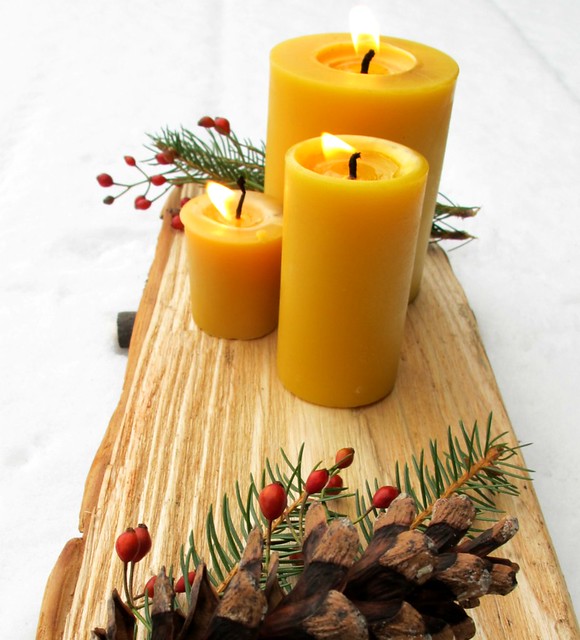
I have a new wooden tray. I just made it a few minutes ago and love it! The idea came to me as I gathered firewood to bring inside. I realized that a flat slab from a log would make a lovely rustic centerpiece for holding candles and such. The rounded underside needed a base to make it steady. Fallen branches from our kindling pile looked just right. I collected some supplies and whipped it up. The end result is so pretty that I might just enlist my kids to make some more for giving. That's right... this is an ideal carpentry project for children (or woodworking novices) because there are very few steps and only two simple hand tools are needed.
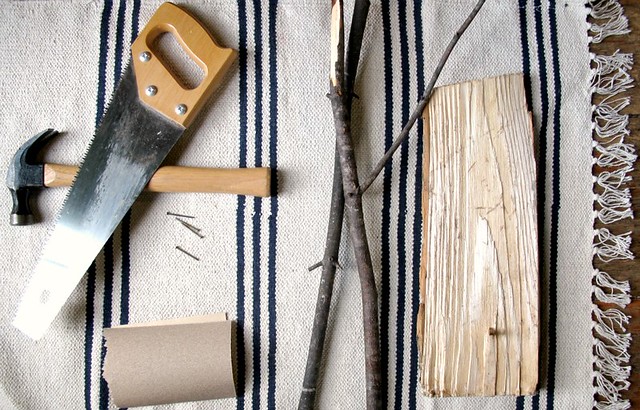
Supplies:
- flat slab of firewood/log
- 2 branches of similar diameter (around 1")
- hand saw
- hammer
- nails
- sandpaper
- vegetable oil and rag (optional)
Make
- Sand the rough hewn side of the the log just enough to smooth out edges and prevent splintering. I rubbed a little vegetable oil on the surface at this point. Optional, of course.
- Saw the branches to equal lengths. Make them both a little longer than the width of the log.
- Rest the log on branches and determine the steadiest spot for their placement.
- Turn over and nail in place. I found that a single nail in the center of each branch was the most stable spot for attachment.
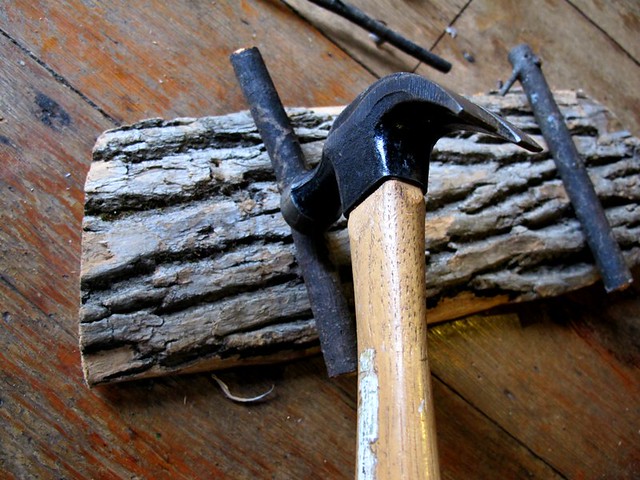
Done! That was quick, wasn't it?
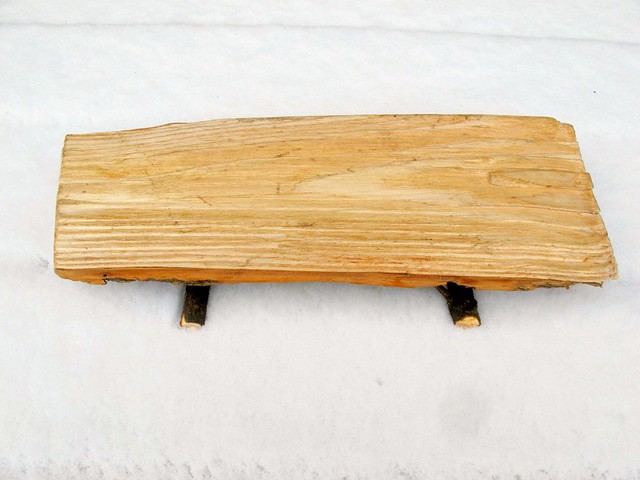
A dusting of snow on our picnic table looked like a romantic spot for a winter picnic... so I rounded up my candles and pretty greenery along with my camera.

What a perfect centerpiece for any winter celebration!


Posted by
mayaluna
21
comments
at
11:19 AM

 Labels:
children,
crafts,
DIY,
seasons,
simple gifts,
tutorial
Subscribe to:
Posts (Atom)


