Showing posts with label repurpose. Show all posts

Tuesday, December 22, 2015

gift bags on creativebug

It's the count down to Christmas, and if you haven't started wrapping your gifts- it's time to start thinking about it! I have a great new class that was just released on Creativebug. I show you how to make two kinds of burlap bags- a boxed edge stand up tote and a frayed edge bag that features weaving. Both elevate the gifts your giving and are quick and satisfying. Bonus- they cost nothing (or close to that!). They also double any gift you give because they are re-usable. Whip up several at a time and put the wrapping paper away! You can check it out right here.*

*I'm an affiliate with Creativebug, so if you sign up by linking over from here, I receive a little "something".  Thanks so much!


Pin It

Sunday, January 18, 2015

mini-crowns

A little Sunday evening post was in order to tell you about our new happy head wear. It began last week when Maya used a toilet paper tube as her prompt of the day for her Frivolous Project. I couldn't resist! In 10 minutes I had made and photographed this definitely frivolous cat hat. 
So fun, right? Our "serious party animal" seemed to make a lot of people smile on Instagram. So I made a second.
This weekend my daughter and some friends wanted to get in on the action. "Pet crowns" were the initial goal, but they changed gears once we added some metallic paints to the mix. Royal crowns of their very own were whipped up. With a hole punch and elastic thread, these work beautifully for people. What a fantastic party hat- or just what's needed to feel like a queen for the day. Because they're miniature, these have a "cool" factor that makes them a little more sophisticated then a typical paper crown. Important to keep in mind for 10 year olds. Elastic thread is the key to them feeling "barely there" and being able to sit jauntily on the side of your head.

The sky's the limit to the design possibilities. We just used a few supplies and were totally satisfied.

Mini-Crowns
 
Need:
  • Toilet paper tube
  • Scissors
  • Washi tape
  • Hole punch
  • Elastic thread
  • Metallic paint
  • Paint brush
Make:
  1. Cut 1/4 of the tube off. Use the rest.
  2. Slice shapes out of the top. Classic crown triangles or fringe have been our only designs so far (we really need to branch out!) Fringe can be wrapped around a pencil to create the curl effect on the top or bottom of the crown.
  3. Decorate with paint and tape or whatever strikes your fancy. Let Dry.
  4. Punch two holes on opposites sides from each other.
  5. Knot elastic thread through one hole. Try crown on pull the thread to the other side to gauge the length you'll need for your own comfort. Cut and tie the thread to other hole.
  6. Slip your crown on… your Majesty!


Pin It

Wednesday, August 6, 2014

sunshine blouse


This happy golden top was made by a 9 year old in camp last week! Impressive, no? First she dyed a section of an old bed sheet in a turmeric solution. Then she followed my directions for the pillow case dress here using some improvisation, since it wasn't a pillow case! Next we took a strip of crochet edging that had actually been a part of the sheet originally, and I helped her to add it to the bottom. We dyed it separately and didn't boil it as long, so it faded after a washing. The contrast didn't bother her a bit- she was still so excited! And so she should be. If you're looking for a good first garment for your child to sew, a skirt is a great bet. The second? A pillow case dress or blouse!

Pin It

Tuesday, July 8, 2014

barn table lamp

 We are spending a ton of time with my mom at the barn. Once again she is transforming the space and coming up with innovative projects using what she's got on hand from her fascinating collection of  retro and rescued pieces. She had bought several vintage factory molds a while back. She found them visually exciting and wanted to display them or put them to use some how.  And so she did! Two are strung with wire and suspended from the ceiling. Another was retrofitted onto a stool as an end table with benefits.
 step 1: find the perfect stool
 step 2: cut a piece of masonite to size and screw to bottom
Step 3: place mold on top of stool
Note the fabulous cup holders and perfect base for a lamp!
Step 4: Set up a lamp with interesting lighting components like a cage light and an old metal basket.
 
Leave it to my mom!

Pin It

Monday, June 23, 2014

rescued container garden

My mom has arrived for the summer, and we're reveling in the magic she brings to our days. "Grandma's barn" has come to life once again with good food, fun projects, constant art and old fashioned play… all of our favorites. 

When she realized that there was still time to plant vegetables, my resourceful mama rounded up repurposed planters to create a container garden on the deck... hoping to evade the deer that forage in the woods out back.   An oversized antique funnel (great drainage!)  in an umbrella stand houses basil… 
  A vintage washtub holds a tomato, a cucumber and a zucchini plant…
 Out in the original barn trough chives and mint (that the deer disdain) come back every year... now they're joined by jalapeño peppers.
 This old mailbox turned on its side is the perfect deep spot for potatoes!
 Chicken feeders, that flank each deck post, now grow herbs and nasturtiums.
No need to go to a nursery and buy expensive planters... there are lots of possibilities at flea markets and tag sales if you're willing to rescue and reuse.
Pin It

Friday, June 13, 2014

printing and stitching at squam day 2 & 3

When I created the Printed Pouch workshop, I hoped to create a class that would invite hand-sewing out on the docks or on back porches of cabins. The pristine setting of this retreat beckons you outside. Over the years most of my classes have focused on machine sewing. The sound of 15 engines is exciting... but I wanted to offer a slower, quieter opportunity for folks. 
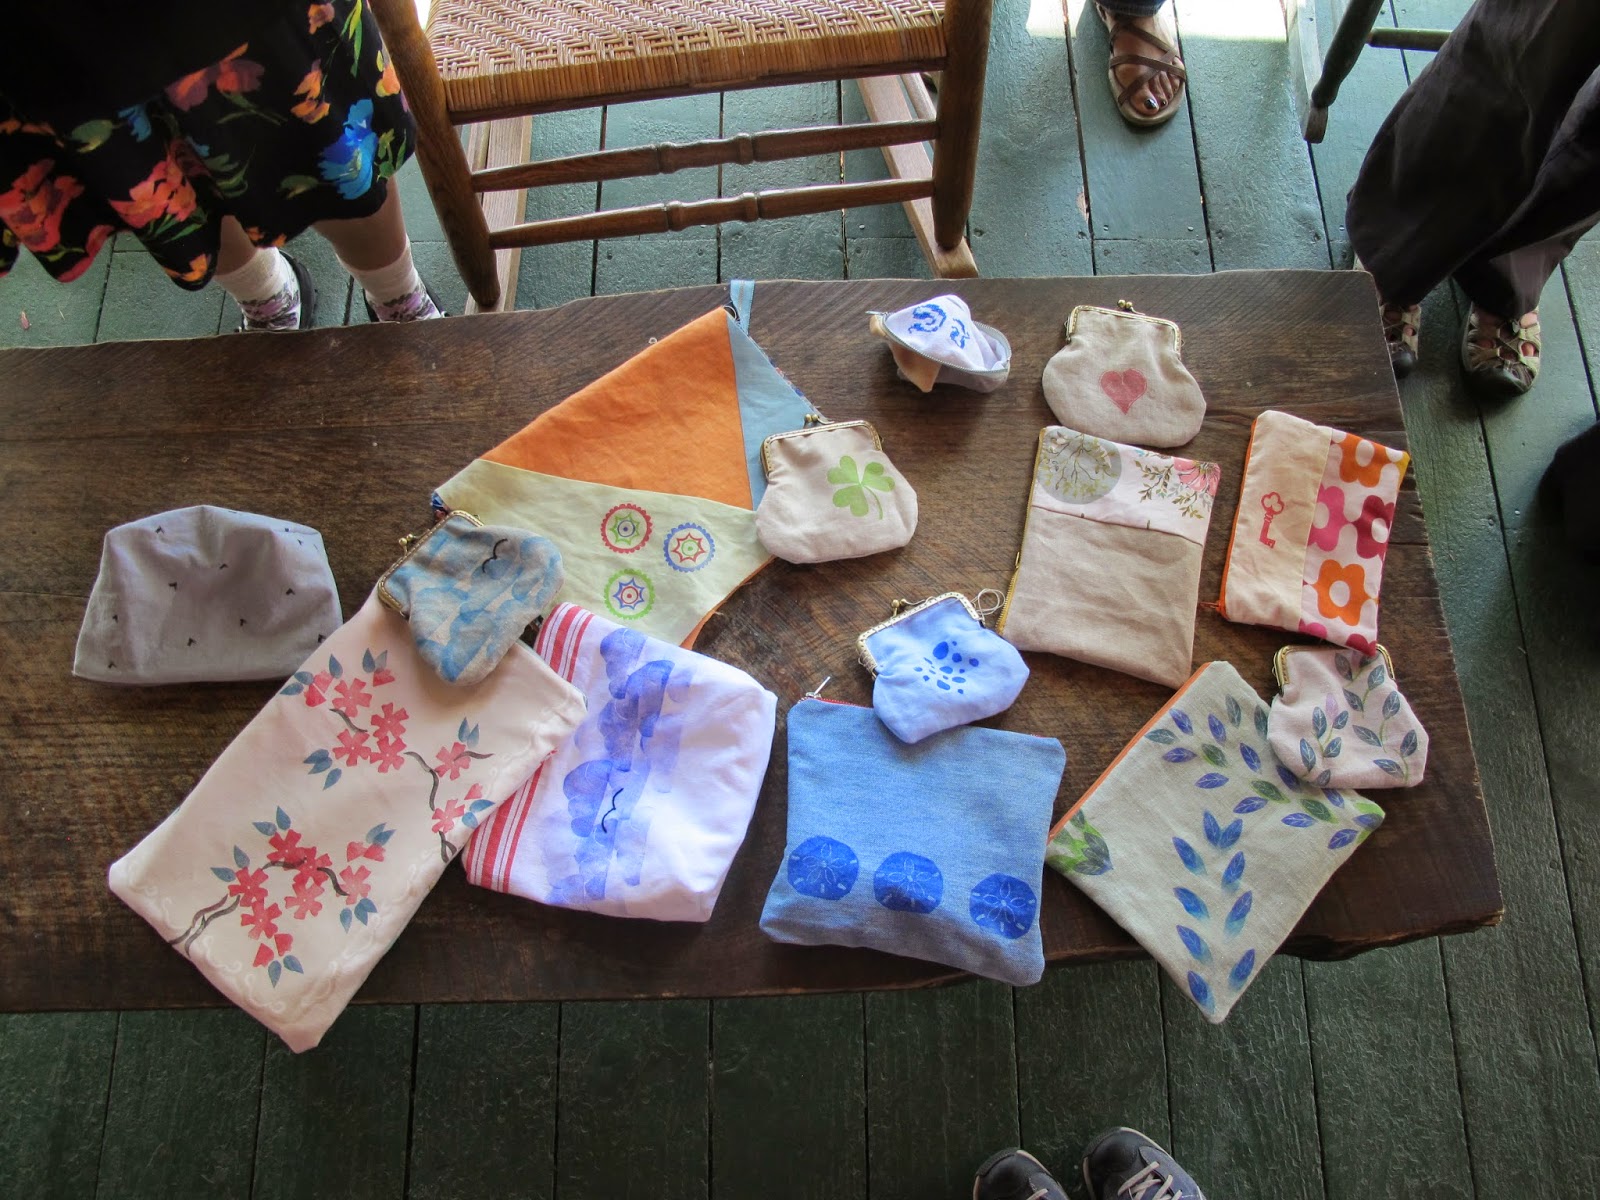
 Weather was our friend for the last two days, and I got my wish! Sure, we spent a bit of time in our beautiful classroom with windows looking out onto the lake... carving and printing.
But there was lots of stitching lakeside!
 And more gorgeous pouches were created! Here are just some of them!
Look at these lovely women! Their printing and stitching were pretty spectacular too!


Pin It

Wednesday, April 9, 2014

stampin' cork- simple gifts

 Do you know how beautifully cork takes to stamps and ink? Well, I didn't... what a nice surprise! They make great personal coasters and trivets. Whether you carve your own or purchase stamps- find ones that speak to you or the recipient. 
I had two broken cork place mats from Ikea. The bigger the piece,the easier it is to break it with a simple fold or bend. Both kids discovered that during the course of one meal. Whoops! That's why smaller pieced projects, like coasters, are perfect and so much sturdier for cork. I used a ruler and rotary cutter and made as many 4" squares as I could from the best part of the place mats. Then stamped away! StāzOn ink pads are recommended so that they can handle spills and be wiped clean. Teacher appreciation week is coming up, a set of these might be perfect with some other goodies...


Pin It

Monday, December 23, 2013

tomato cage tree

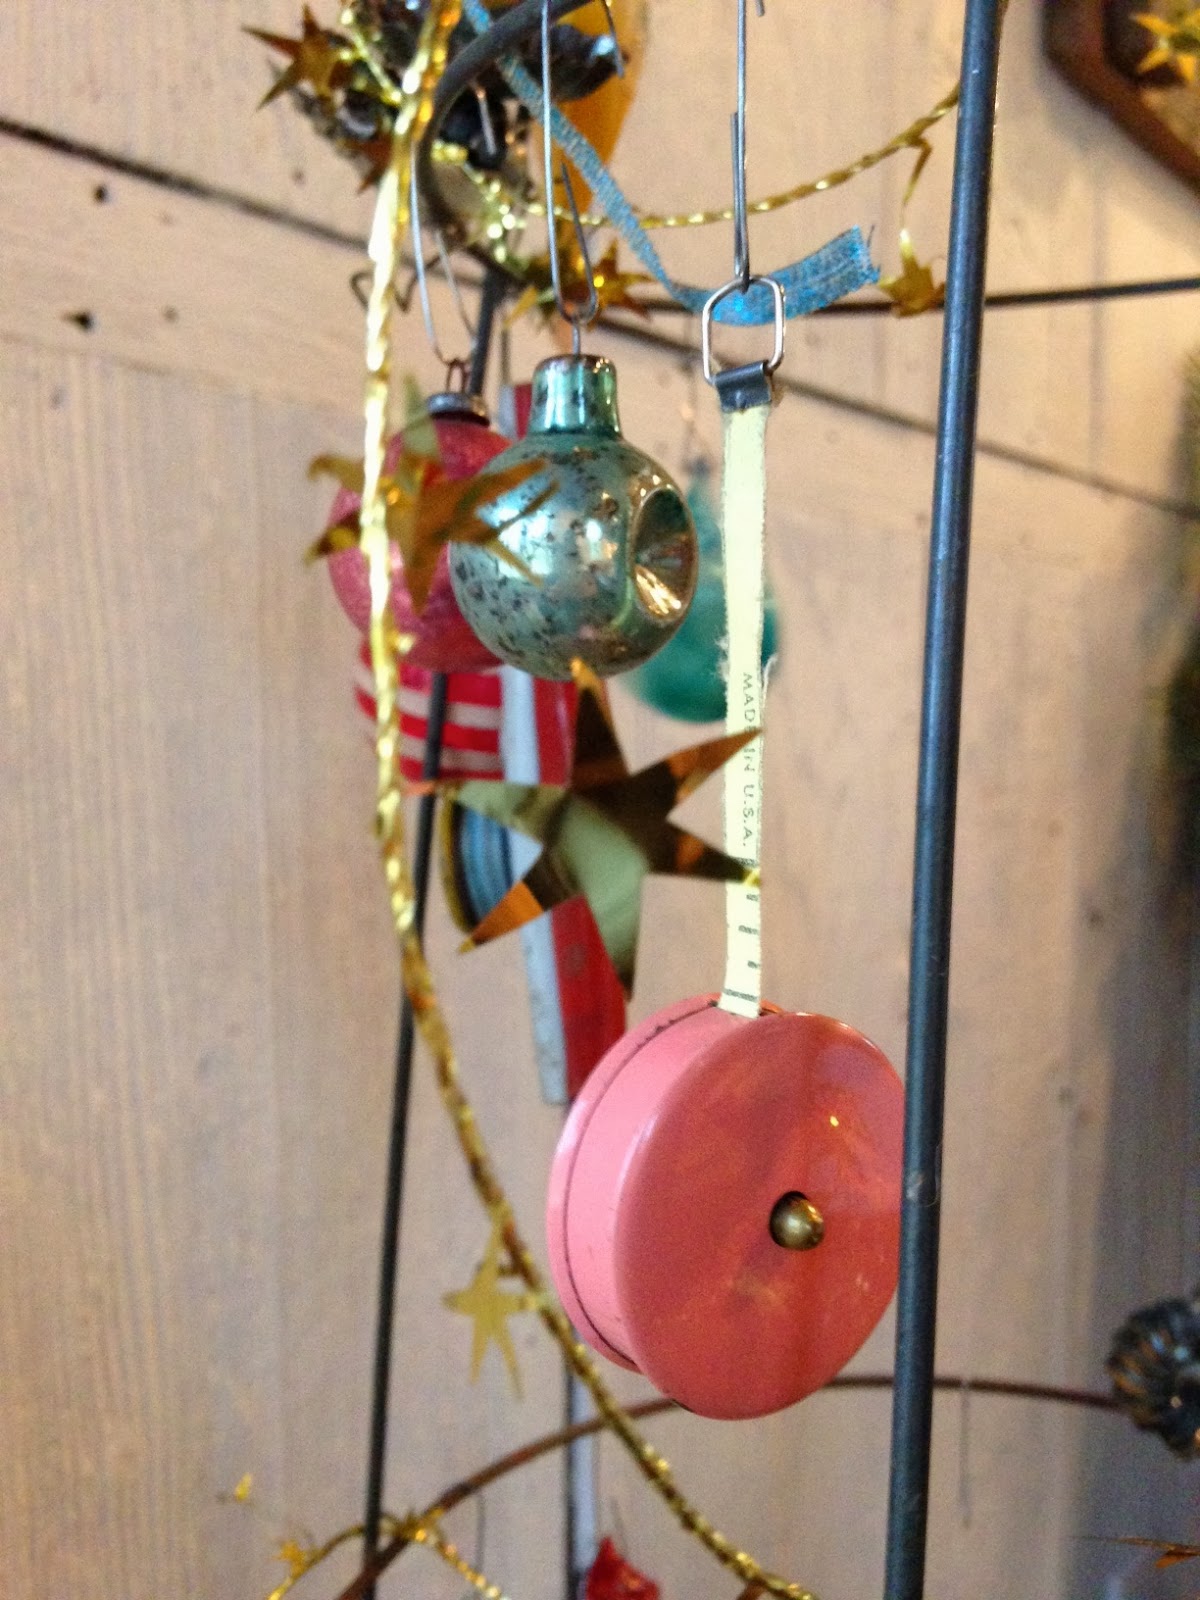
Whoever said that you need a real tree to hang your decorations from hasn't talked to my mother. She is the queen of alternative trees. Knowing this, I set aside one of my old tomato cages for her. She "did it up" just right with all kinds of vintage ornaments and little unexpected surprises.
Like tin kazoos and doll teacups...
Mini locks with their keys and tape measures
Turn an old tomato cage upside down and pull the three prongs together at the top. That's it!
Many folks on instagram have been asking about the white wooly goodness my daughter is sitting on. It's a flokati rug from IKEA. Perfect winter addition to any couch, but don't sit on it wearing black or you'll look like you've been lounging with a polar bear. 
Pin It

Wednesday, December 4, 2013

Squam- June 2014

Bare branches and piles of fluffy snow are romantic in December, but they get old quickly.  I know that next June I'm going to be aching to sit on the dock of my favorite lake. The Squam Art Workshops for 2014 have just been announced! Registering now is a wonderful way of investing in yourself and your soul... and creating a sense of hope during the long stretch of winter ahead.

I'm teaching a brand new workshop that I'm super excited about! We'll be be carving stamps, printing on rescued textiles and stitching up a variety of little pouches. The emphasis will be on hand sewing. Leaving machines behind offers makers the ability to create in any location. Squam's pristine setting will be our "second" classroom. So if you'd like to be crafting at the water's edge or sitting on a forest trail... you will be free to roam with needle and thread!
We will be learning new skills, gaining fresh insights on our creative process and making deep connections with those around us. It truly doesn't get much better than this! I can't wait to meet you in June... so many dear friendships have been born through readers translating our online correspondence into a real life experience... looking into one another's eyes is always my favorite way to SEE. You.
So come sew and print with me! Click here for all of the details.
Pin It