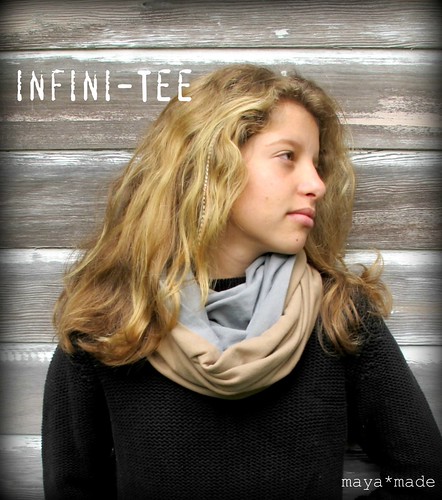
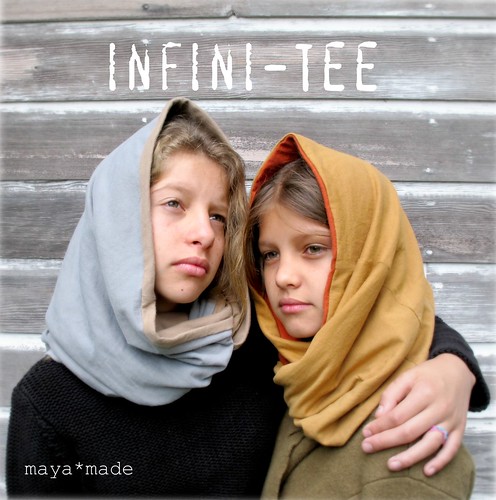
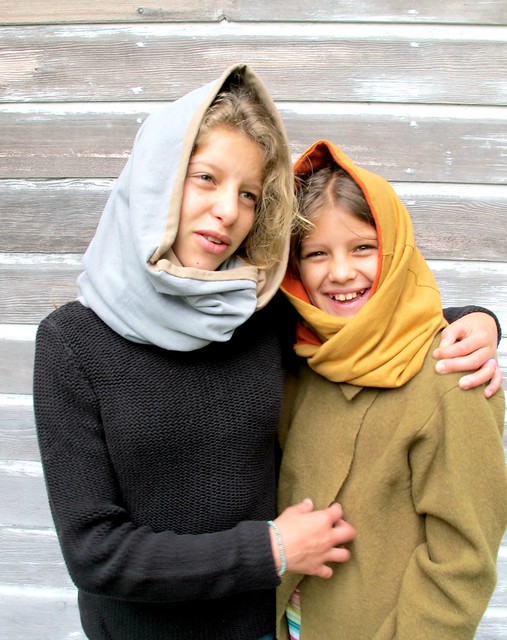
It works for all ages, as my nieces have proved. They're always happy to play dress up, but they totally humored me by donning sweaters in August for this shoot. Thank you girls! They took their job very seriously... or maybe it was just the heat.
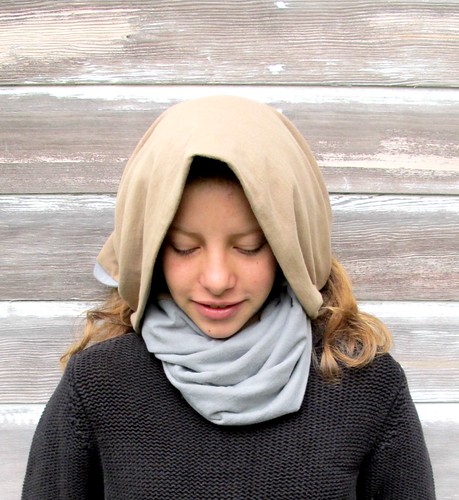
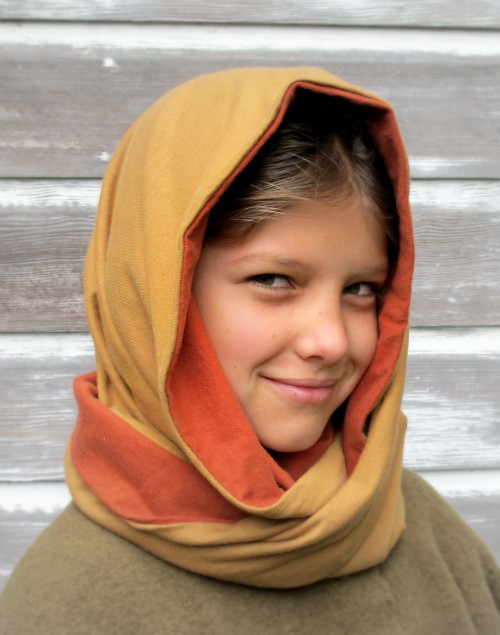
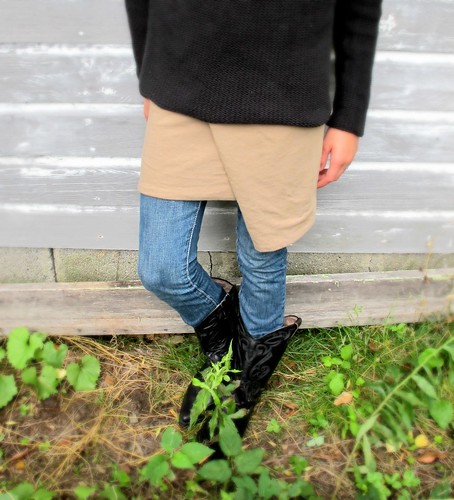
Here are some ways we discovered to wear these cozy layers of soft jersey... that stretch and twist to form multiple accessories- all with warmth and style. Loop it twice for a scarf, wrap around your shoulders, nestle at your neck with a kerchief style hood, or pull up for a traditional hoodie…
It also transforms into a cozy wrap to wear over jeans or leggings. Just add a little pin to hold it in place.
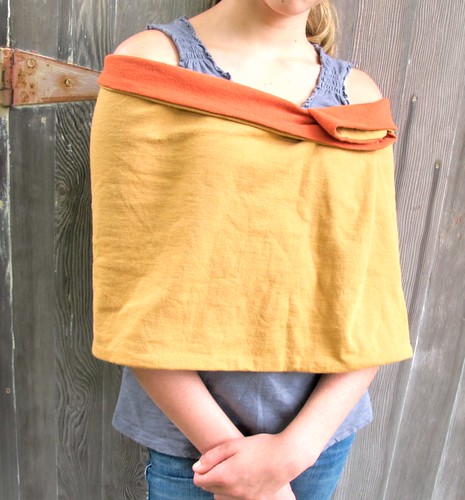
The same wrapping idea can turn it into a capelet, as well. We didn't use a pin here, just fold and a tuck- but a brooch would hold it securley.
Here are the easy instructions. Go rescue some t-shirts this weekend! Make one for yourself and one for a friend.
Infini-Tee
- 2 XL (or larger) men’s tee shirts-longer and wider the better
- button thread and needle
- scissors
Make:
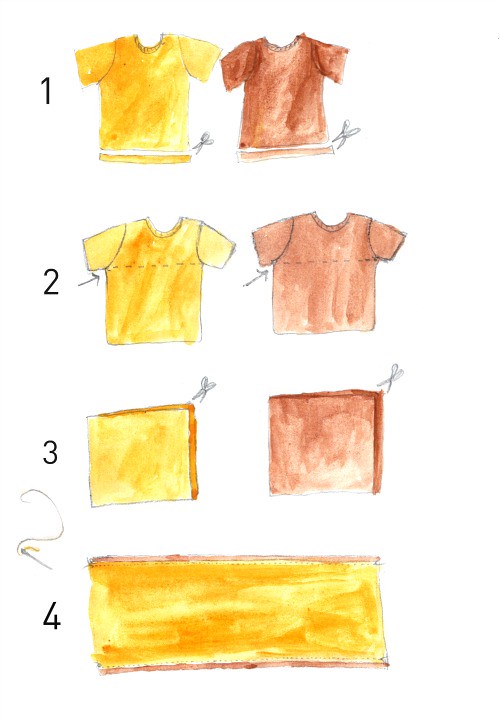
- Cut off the bottom hems of both shirts.
- Cut a straight line across the body of each shirt, directly underneath the sleeves.
- Cut one side open of each shirt. If it is a seamed shirt (not all tee’s are), cut along the seam.
- Open each shirt into a long rectangle and lay on top of each other right side to right side. Trim to be equal in size. Sew a seam along each length to create one long tube with one shirt on top and the other on bottom. If using a machine use a mock overlock stitch or any stretch stitch. If sewing by hand use sturdy button thread.
- Turn the tube right side out.
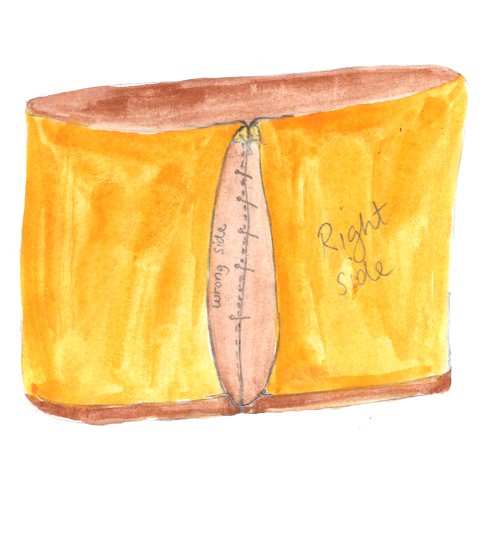
- Join both open ends together by matching up the long seams you've just sewn. Pin at the seam on the wrong side. Continue pinning the wrong side for several inches. Sew shut the tube opening where the pins are... continue to stitch around the opening on the wrong side (even thought the rest of the tube is right side out) by twisting the fabric until it simply won't turn anymore. Remove from machine. Straighten out tube and hand stitch the small opening closed. (see final illustration)Done!
See, they're not always so serious... and can you spot the little stripy summer sundress peeking out of that wool sweater... they were such good sports!


These are sweet!
ReplyDeleteThank you so much for the excellent tutorial. Gonna make one RIGHT now. I think I may make a ton of these as christmas gifts! :D
http://kaybea.com
oooh, i think i should make myself one of these for every day of the week! glad i'm not alone in feeling stressed about the number of tees at the thrift stores ;n)
ReplyDeleteand i LOVE the illustrations!
This looks like something even I could sew! LOVE your watercolour illustrations, they're beautiful!
ReplyDeleteThank you!
xoxo
~ joey ~
Go Kay Bea!
ReplyDeleteThanks for the illustration love Cal and Joey! It was actually easier than photographing it step by step. Might do that more often.
Darling! The scarf is cute too.
ReplyDeleteVery cool! Love the scarf AND the illustrations. Quite amazing that you think it was easier to make the watercolor illustrations than photographing the project. I'll be definitely making scarves very very soon!
ReplyDeleteLove it! And the tutorial is cute too.
ReplyDeleteVery cute! Love your color choices. Could you give us an idea of the measurements of the the pieces? I have a couple pieces of material that might work...
ReplyDeleteLaura J- each one varies a little depending on how big the T is. I just measured the taupe/stone colored one and each finished layer is 16x60". If you are using yardage and not a t-shirt, you may want to adjust the sizing to your needs a little bit. Happy sewing!
ReplyDeleteThanks so much Maya. I think this is something I can actually do, even a non sewer like me!
ReplyDeletexx
i can't wait to make on of these for myself!
ReplyDeletewhat wonderful models... and i love the colors of the scarves they are wearing :)
Love these, so cozie. I will make a couple for my girls as well. Great pattern Maya!
ReplyDeleteFantastic tutorial. Even novice sewing gals like me could make one. Sweet nieces, I hope they got ice cream after that August shoot! xox Corrine
ReplyDeleteJust a quick note to let you know that a link to this post will be placed on CraftCrave today [22 Oct 02:00am GMT]. Thanks, Maria
ReplyDeleteI absolutely love it! I will be making them. SOON! Thanks so much for sharing.
ReplyDeleteWhat a great idea.. And lovely models too!
ReplyDeleteSweet photos of your nieces! Thanks for sharing this idea with us. I'm going to work on one of these this weekend. I think I may have a few extra tees to work with ;)
ReplyDeleteI wonder if my hubby will notice when two of his "nicer" t-shirts suddenly go missing! Wonderful instructions Maya... I'm looking forward to making one (or more) of these!
ReplyDeleteI like!
ReplyDeleteThis might be my go-to hoodie/neck scarf for the upcoming winter. Thank you for sharing, Maya.
I completed the scarf and posted a link to your tutorial in my blog! Check it out! :)
ReplyDeletehttp://kaybea.com
I'm so pleased you all are enjoying this one!
ReplyDeleteKay Bea- I love yours!
Wow that is a great idea for recycling old t-shirts. Really like your designs, I must attempt to make one. Thanks!
ReplyDeleteAwesome! Thanks for the tutorial!! Keeping one in the car is a good idea. This time of year it is still teetering back and forth from nice weather and cold, so I am usually wishful thinking and under-dressed.
ReplyDeleteI think I might just have to brush the dust off the sewing machine and try this. Thanks for sharing the "how to" Maya!
ReplyDeleteThese are so great and there are so many things to do with dyes and fabric paints to expand on this idea! I am envisioning some very unique, dyed infinity scarves. Thanks Maya!
ReplyDeleteSheer genious. I'm going to Goodwill this afternoon to snarfle up some tee-shirts! It's already pretty cold where I live, though--may try adding a layer of very thin wool or cotton batting in between the two shirts. Would that work, do you think?
ReplyDeleteBeautiful idea! Thanks for sharing, Maya.
ReplyDeleteThanks for the inspiration and the tutorial. I stopped by my local thrift store yesterday (it was 50% off day) and found 2 perfect tees to use. I think dying them a little might even make the project better.
ReplyDeleteCan't wait to see how it turns out.
ooooh swwwon. These are so divine. Can't wait to wear one!
ReplyDeletexo
Love these & love seeing the girls again! My girl wants to make these too!
ReplyDeletebig.love.
ReplyDeleteGreat idea Maya!!
ReplyDelete